Introduction
The calculus toolbox is a set of scripts and utilities for generating customized Isabelle theory files for user defined display calculi and Scala classes that provide a user interface for working with said calculi.
Overview
The calculus toolbox can roughly be split into two categories. The first one is the code generation, which includes utilities for generating Isabelle theories and Scala code from a specification of a calculus, contained within a single JSON file. This file contains the full specification of the structure of the calculus, as well as the encoding of the rules of the calculus. The full description of the specification of the JSON file structure can be found in the section on calculus encoding.
The tools folder contains the core scripts used for generating the Isabelle theory files and the Scala UI. Detailed description of these tools can be found in the Utilities section.
The second category of the calculus toolbox functionality is the Scala UI, which provides a graphical way of manipulating sequents and proof trees of the generated calculus. The UI provides the following functionality:
- Graphical representation of proof trees in the UI
- LaTeX typesetting of the terms of the calculus, with user specified syntactic sugar
- Automatic proof search
- Interactive proof tree creation and modification, including merging proof trees, deleting portions of pt’s, applying rules to the leaves of a pt (if applicable) and other
- Automatic typesetting of proof trees in LaTeX
- Exporting proof trees back to Isabelle
The UI is further documented in the Scala UI section.
Start guide
To get started quickly, this tutorial will guide you through the process of generating a custom calculus. If you have not yet downloaded the calculus toolbox, you can get the zip file or just use git and clone the project with:
git clone https://github.com/goodlyrottenapple/calculus-toolbox
-
First open the default calculus template
default.jsonand edit the calculus name:
"calc_name" : "DCPL"This name is used in all the Isabelle theory files and Scala classes.
-
Next, let’s have a look at the definition of the calculus structure, more specifically at the definition of atomic propositions and formulas. The inductive definition for these is given below:
$F:= ap \in \mathsf{AtProp} \mid F \land F \mid F \rightarrow F$
And here is the corresponding definition in the JSON file:
   "Atprop" : {
      "Atprop" : {
         "type" : "string",
         "ascii" : "_",
         "latex" : "_"
      },
      "Atprop_Freevar" : {
         "type" : "string",
         "isabelle" : "?\\<^sub>A _",
         "ascii" : "A? _",
         "latex" : "_",
         "precedence": [320, 320]
      }
   },

   "Formula" : {
      "Formula_Atprop" : {
         "type": "Atprop",
         "isabelle" : "_ \\<^sub>F",
         "precedence": [320, 330]
      },
      "Formula_Freevar" : {
         "type" : "string",
         "isabelle" : "?\\<^sub>F _",
         "ascii" : "F? _",
         "latex" : "_",
         "precedence": [340, 330]
      },
      "Formula_Bin" : {
         "type" : ["Formula", "Formula_Bin_Op", "Formula"],
         "isabelle" : "B\\<^sub>F _",
         "precedence": [330,330,330, 331]
      }
   },

   "Formula_Bin_Op" : {
      "Formula_And" : {
         "isabelle" : "\\<and>\\<^sub>F",
         "ascii" : "^",
         "latex" : "\\wedge"
      },
      "Formula_ImpR" : {
         "isabelle" : "\\<rightarrow>\\<^sub>F",
         "ascii" : ">",
         "latex" : "\\rightarrow"
      }
   }
- - - Note that the calculus toolbox is set up for a [deep embedding](https://goodlyrottenapple.github.io/calculus-toolbox/doc/calculi.html#deep-embedding) (abbreviated DE) of a calculus in Isabelle, which, for this section, means that:
-
for every type in the calculus a
_Freevarterm is added to the DE (for more information why free variables need to be added expilicitly refer to the section Calculi ) -
for every n-ary connective, a
_Zer/Un/Bin/..term is added to the DE of the corresponding type and a separate type of the following form is added:
      "<Type>_<Zer/Un/Bin>_Op" : {
            "<Type>_<Connective>" : {
               ...
            }
         }
-
a type can be promoted into another type through a constructor of the following shape:
      "Structure_Formula" : {
         "type": "Formula",
         ...
      }
  where a `Formula` is promoted to a `Structure`.

  - - -
The terms are built inductively in this definition by specifying the type parameter in the JSON file. For example, a binary connective for a formula is specified via the entry "type" : ["Formula", "Formula_Bin_Op", "Formula"] in the Formula declaration, with the corresponding declaration of the binary connective(s) in Formula_Bin_Op
To get a better idea of what the other specified parameters in the definition of Atprop, Formula and Formula_Bin_Op mean, let’s have a look at the the Isabelle definitions, generated from the JSON snippet above.
   datatype Formula_Bin_Op = Formula_And ("\<and>\<^sub>F")
                           | Formula_ImpR ("\<rightarrow>\<^sub>F")

   datatype Atprop = Atprop string
                   | Atprop_Freevar string ("?\<^sub>A _" [320] 320)

   datatype Formula = Formula_Atprop Atprop ("_ \<^sub>F" [320] 330)
                    | Formula_Bin Formula Formula_Bin_Op Formula ("B\<^sub>F _ _ _" [330,330,330] 331)
                    | Formula_Freevar string ("?\<^sub>F _" [340] 330)
The parameter isabelle together with precedence (in the JSON file) specify the syntactic sugar of the defined terms in Isabelle. Either/both of the parameters can be omitted as in the case of the constructor/term Atprop in the datatype/type Atprop.
We similarly define structural terms:
$S:= F \mid \mathsf{Id} \mid S \,; S \mid S > S$
and sequents:
$S \vdash S$
(To see the corresponding JSON entries for these types, check default.json)
-
The next part of the JSON file contains the encoded rules of the calculus. The encoding of the rules is tied to the definition of the calculus, more specifically to the ASCII syntactic sugar defined in the previous step.
To demonstrate, here is a look at the different encodings of a simple sequent $p \vdash p$:
Notation Code generated No sugar Sequent (Structure_Formula (Formula_Atprop (Atprop ''p''))) (Structure_Formula (Formula_Atprop (Atprop ''p'')))Isabelle (raw) ((Atprop ''p'') \<^sub>F) \<^sub>S \<turnstile> ((Atprop ''p'') \<^sub>F) \<^sub>SIsabelle (jEdit*) (Atprop ''p'')FS ⊢ (Atprop ''p'')FSASCII p |- pLaTeX p \vdash p*In the Isabelle IDE (jEdit), the raw term would be rendered this way
If no sugar is defined, the Isabelle, ASCII and LaTeX representation of the terms of the calculus will correspond to the datatype declaration syntax seen above in the “No sugar” entry of the table.
However, note the ASCII/LaTeX sugar for the term Atprop, namely
"ascii" : "_". This notation means that only the parameter/argument of Atprop, namely the string identifier, should be kept (the underscore acts as a placeholder for the variable in the syntactic sugar encoding and is therefore a reserved character). Thus,Atprop <string>is abbreviated to just<string>in the ASCII/LaTeX sugar (also note that strings in Isabelle are enclosed in two single quotes, so the stringabcis written as''abc'').
The encoding of the rules is split up into two parts, first, similarly to the encoding of the terms of the calculus, the rules are defined in the
calc_structure_rulessection of the JSON file. The actual rule is then encoded in a separate section.
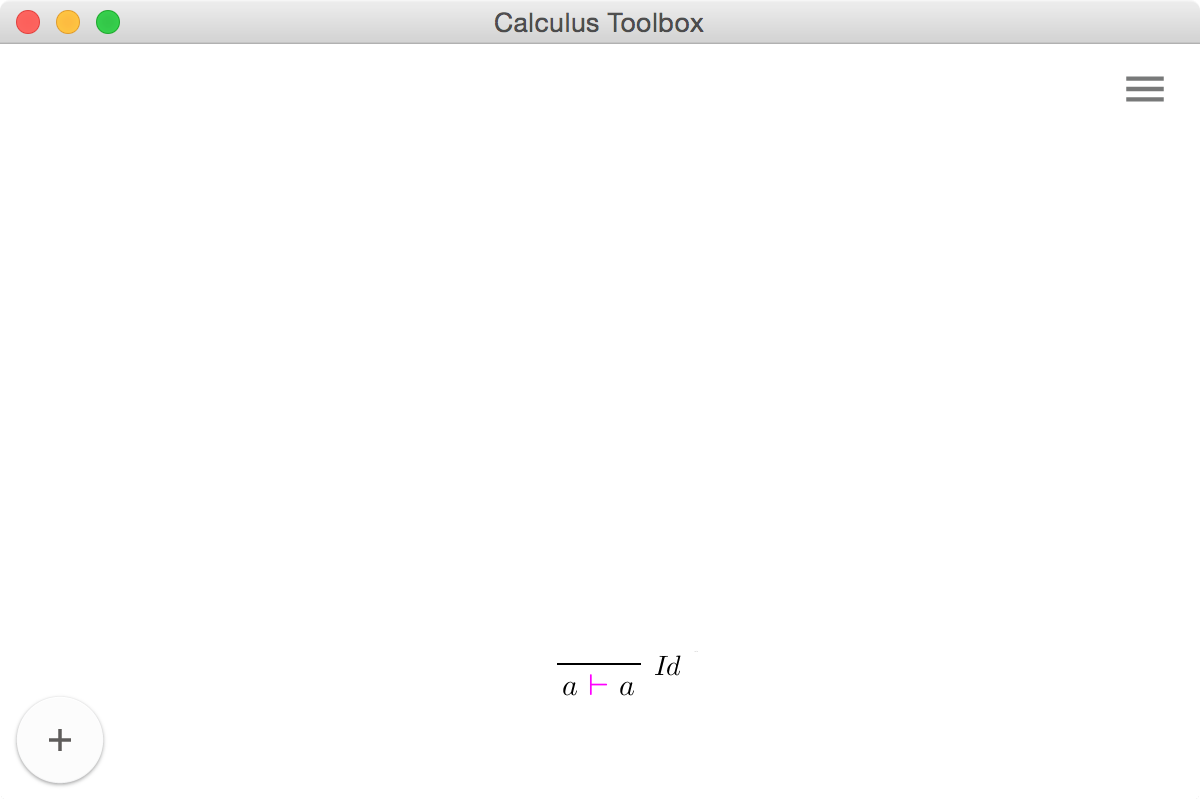
To demonstrate this, let us have a look at the identity rule in the calculus:The following entries have to be added to the JSON file for the Id rule:
   "calc_structure_rules" : {
      "RuleZer" : {
         "Id" : {
            "ascii" : "Id",
            "latex" : "Id"
         },
         ...
      },
      ...
   }
and
   "rules" : {
      "RuleZer" : {
         "Id" : ["A?p |- A?p", ""],
         ...
      },
      ...
   }
The first code snippet generates the Isabelle definition of the form datatype RuleZer = Id, whilst the second code snippet is the actual encoding of the rule (in ASCII), which is parsed and translated into Isabelle.
All the rules in the JSON file are encoded as lists of sequents, where the first sequent is the rule conclusion (the bottom part), and all the subsequent sequents are the premises (the list must contain a premise and at least one conclusion). For example, the binary rule for an implication in the antecedent of a sequent is the following:
And the corresponding JSON encoding:
"ImpR_L" : ["F?A > F?B |- ?X >> ?Y", "?X |- F?A", "F?B |- ?Y"]
| Since the Id rule is an axiom, it has no premises. However, the empty string needs to be added to the list as the empty premise, even though it is redundant. |
Lastly, notice that all the rules are encoded with the free variable constructors that we defined in the previous step. The free variables stand as placeholders for concrete terms. They can be thought of as equivalent to the Isabelle meta-variables in the shallow embedding of the calculus and even though they are part of the calculus, they are not used for anything besides pattern matching and transforming sequent in rule application. Indeed, any sequent with free variables within a concrete proof tree will automatically be invalid.
-
After defining the terms and the rules of the calculus, we can turn the calculus description file into the corresponding Isabelle theories and Scala code. To run the build script, navigate to the root of the toolbox folder and run:
./build.py -c <path_to_JSON_calculus_description_file>
For a list of optional flags and arguments run ./build.py -h. If you get compilation errors, please refer to the troubleshooting page.
-
If the build was successful, navigate to the output folder (if not specified, defaults to
gen_calc) and run:
./build.py
This build command is different to the previous one and it does not generate any new code (it simply recompiles everything, now with the addition of the Scala UI). Once eveything has been compiled without errors, run:
make gui
You should see the following screen: